How to Use ChatJPT: The Complete Guide
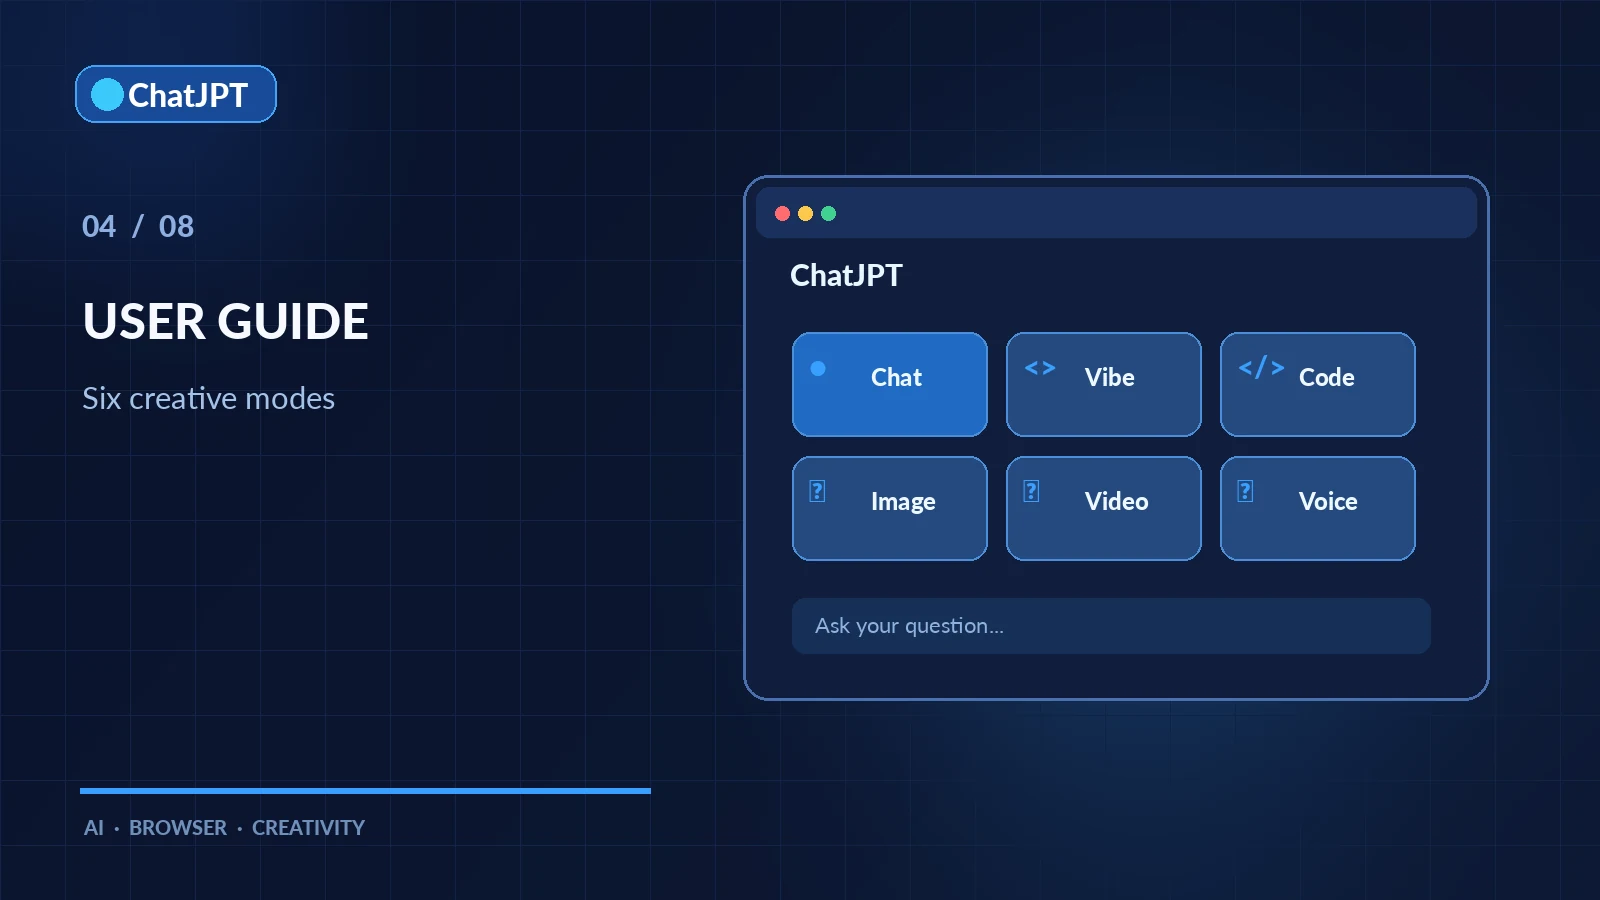
Just discovered ChatJPT and wondering how to use ChatJPT effectively? This guide takes you from opening the file to exploring advanced features. Allow five minutes for your first conversation. Each section then links to a more detailed article.
Step 1: Download and Open the File
ChatJPT is contained in a single HTML file. Download it from GitHub, then double-click it to open it in Chrome, Edge, Firefox, or Safari. There is nothing to install and no account to create.
Keep the file in the same location on your computer. Your settings and conversations are saved in your browser for that file.
Step 2: Add an API Key
ChatJPT uses your own API keys. Open the key panel at the top left: providers are grouped by country. Paste a key for at least one provider, such as OpenAI, Gemini, or Claude. A ✓ badge confirms that the key has been saved.
Don’t have a key yet? How to Get an AI API Key explains where to create one for each provider. Some offer free trials.
Step 3: Choose a Provider, Model, and Mode
Next, select your provider and model. Above the chat box, six tabs correspond to six modes:
- Chat: General conversations.
- Vibe Coder: Create a webpage or small tool without knowing how to program. The AI asks one question at a time and proposes a plan before building.
- Code: Development assistance, with syntax highlighting, file downloads, and HTML page previews.
- Image, Video, and Voice: Content creation, depending on the selected provider’s capabilities.
Tabs that the selected provider does not support are greyed out. For example, Claude does not generate images.
Step 4: Send Your First Message
Type your question and send it. The answer appears as it is generated. Below each reply, you can see the tokens used, a copy button, and a thumbs-up or thumbs-down rating.
For reasoning models, a collapsible 🧠 section displays their reasoning information before the answer. You can adjust the reasoning effort or disable it for faster responses.
Step 5: Turn On the Right Options
Several buttons below the input field enrich responses:
- 🌐 Web search: Up-to-date answers with clickable sources.
- 🔗 Link reading: The model actually reads the webpage whose URL you paste.
- 📎 Attachments: Text, code, images, PDF, Word, or Excel files. A scanned PDF can be transcribed by AI, with an estimated cost displayed before starting.
For more demanding tasks, AI Deep Research produces detailed reports backed by sources.
Step 6: Compare Two Models
Activate comparison mode to ask the same question of two models, even from different providers. Their answers appear side by side, and you keep the better one with a click. Everything is covered in Compare Two AI Models.
Step 7: Create Images, Videos, and Voices
Switch to the Image tab, describe what you want, and your image appears. A toolbar below each image lets you edit it with a sentence, remove its background, change the aspect ratio, or animate it. Similarly, the Video tab creates clips from text or photos, and the Voice tab reads your text aloud or creates a two-host podcast. Learn more in Generate Images and Videos with AI.
Step 8: Organize Your Conversations
The sidebar stores your conversations. You can search their text, edit a message already sent, regenerate a response with another model, or export a conversation in Markdown, JSON, or PDF.
Best Practices for Using ChatJPT
- Choose the model for the task: A fast model for a simple question, a reasoning model for a complex problem.
- Watch token usage: Cached input can cost considerably less.
- Read error messages: They reproduce the provider’s own message, which often explains the fix.
- Change language or theme at any time: French, English, or Spanish; light or dark.
You now know how to use ChatJPT. To understand the decisions behind the tool, read about the ChatJPT philosophy.